

Garden art poles make an exciting way to express yourself – be it to honor our military servicemen and women or create tranquility within your space. It is produced here in America from durable vinyl art poles featuring four sides with their message displayed prominently.
As it can save time and money in the long run, it is wise to sketch your design before burning any wood. Doing this will allow for faster results without regret later on.
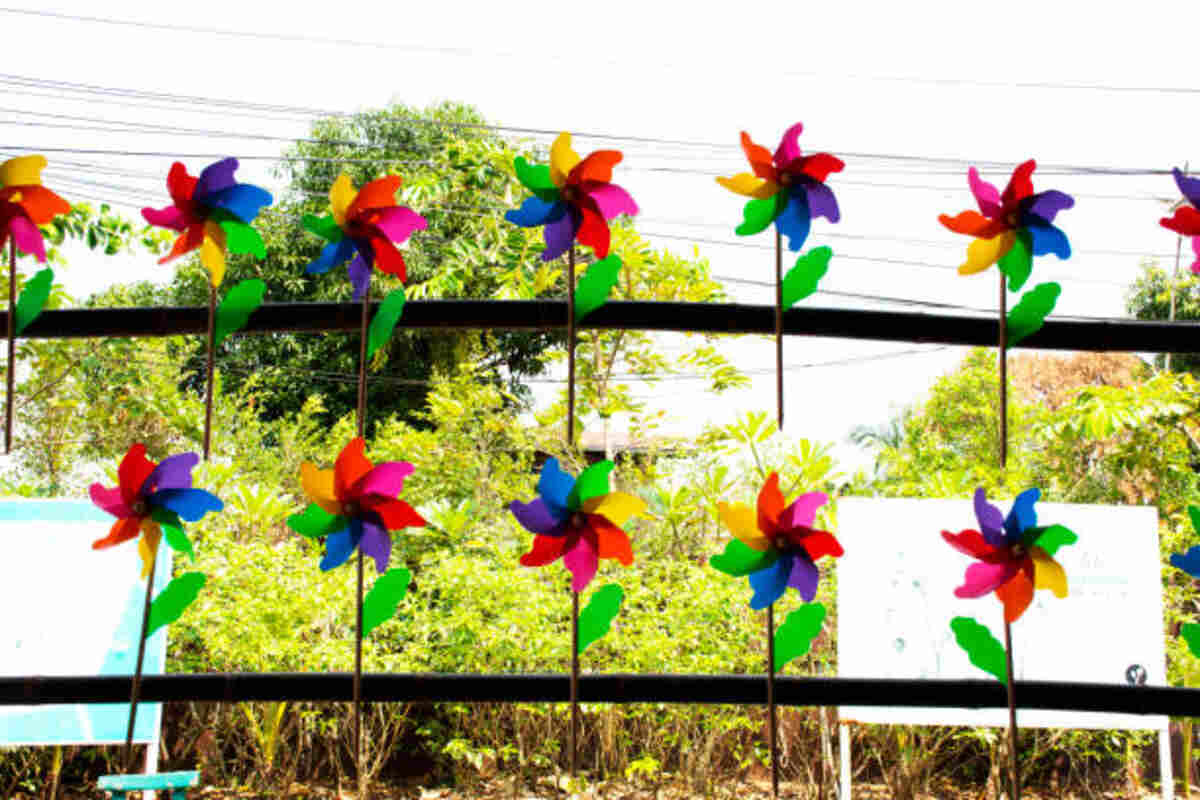
How to Make a Garden Art Pole
Garden art poles, commonly called peace poles, have become an increasingly popular way of decorating gardens and yards. These vibrant, eye-catching pieces allow users to express themselves while making unique gifts for family and friends. If you’re interested in creating your garden art pole, here are a few helpful hints and steps for getting started:
Purchase a wooden pole explicitly made for outdoor use from your local garden center or building supplies. Be sure to ask their staff which type of wood will work best; once selected, let it dry completely in an ideal shady location before painting it! This will ensure the paint adheres securely to its surface.
Next, decide what words, pictures, and colors you want on your pole. Sketching your design beforehand is a good idea; this step will save time and frustration later. Plus, it gives you time to contemplate exactly what your pole should say/look like before diving in with carving tools!
For carving garden art poles, you will require a sharp woodworking tool. If you don’t already own one or rent it from home improvement stores, purchasing or renting the necessary tools should suffice. Once equipped with these tools, you can begin shaping the pole – starting from its bottom and working upward. When complete, you will have a unique peace pole to display in your garden or give as a gift!
Make a lasting statement or honor a loved one with this rewarding craft project – whether as a memorial to them or to display your appreciation of nature by crafting your garden art pole! Materials needed can be easily found at local craft stores and garden centers, with costs depending on what size pole you need to construct.
Materials
Are You Ready to Show Off Your Creativity and Hands-On Skills? Create a Garden Art Pole That Inspires Others in Your Landscape. If so, create one with basic materials like wood and paints today. For optimal success with this project, it would be beneficial to sketch your design beforehand to avoid mistakes that could derail it; depending on the size of your piece, you may require felt-tip markers or brushes.
Cedar is the go-to material for making garden art poles, as it’s hardy and resistant to bugs and rot. To find smooth pieces that won’t crack over time. Additionally, purchasing pre-carved pole caps made from durable material like fiberglass may save time and effort while giving you more freedom with design decisions that may not require as much intricate carving.
Once you’ve determined the design and material for your garden art pole, the next step should be choosing its color. For wood pieces, using outdoor-grade paint will ensure its color does not fade or chip with time while protecting against the elements. When selecting pre-carved poles as garden art, choose hues that complement its surroundings landscape.
Consider an eye-catching piece like a decorative garden art pole printed on PVC posts for more impactful appeal. Crafted by studio M exclusively, these eye-catching garden art poles are proudly manufactured in America! Plus, their state-of-the-art reproductions of hand-painted garden art make installation quick and straightforward in just 10 minutes with no digging necessary! Plus, long-lasting and fade-resistant pieces like these come with ground brackets, making installation fast and painless with no digging necessary! These pieces of Studio M are exclusively driven by Studio M here in America! Studio M exclusive, these captivating garden art poles make them highly durable and easy to install; their state-of-the-art reproductions of hand-painted garden art are also made in America!
Preparation
Make an Art Pole To Celebrate Bee Friendly Gardens or as a Memorial For Loved Ones; these striking garden poles offer an excellent way to add artistic style and an impactful statement to any landscape! They are durable and straightforward to install.
Your local building supply or garden center should have an array of wooden posts ready for you to customize to your design. Ask the employees there to scrub, sand, and treat the wood before painting it for exterior use; they may also offer advice regarding proper preparation if you plan on carving into it later.
Before decorating your pole, decide which words and images you want. There are numerous examples online to inspire. Before creating your bar, sketch out your ideas on paper first to allow you to make changes without altering anything permanently – this way, if needed, you can practice on the backside of the article!
Once your design layout is finalized, apply flower and leaf elements to each of the four sides. Work from the bottom up while leaving enough overlap so it flows nicely together. Filler shapes such as circles, plus signs, or crosses may also help add dimension and filler shapes between critical designs.
Once your central flowers and leaves are complete, move on to text. Use an exterior trim paint such as PPG’s Advantage 900 so your reader is durable for years of enjoyment, followed by applying clear-coating to protect it from rain and sun.
Concrete will provide sufficient support to secure your pole on a pedestal. Make sure that it can support its weight and any decorations added later; once completed, display it in your garden or place it on a table in a gazebo or covered area of the patio.
Painting
Garden art poles (often called bee poles or totem poles) have become an increasingly popular way of honoring individuals, commemorating lost loved ones, promoting world peace, or any number of other reasons. Crafted with lightweight yet fade-resistant PVC material for ease of installation in landscape settings of all sizes. Multiple sizes are offered to suit every garden size!
Step one in creating a garden art pole is sketching your design. While this step may not always be necessary, it can be highly beneficial if you want a clear understanding of your goal before burning it into the pole. Once this step has been completed, you can begin painting and customizing your garden art pole!
When painting your pole, the ideal exterior trim paint for use should clean easily with water and has thicker and more durable coverage than regular wall-painting types – this way, it can withstand weather better! Additionally, if text painting will be part of the plan, it would be wise to find someone with a belt sander to sand the area where text will be added to provide a smooth surface on which text paint can adhere better.
Knots should also be removed from any parts of the pole used for carving, as their different decay rate could cause any text cut into it to fall out or leave holes over time. A few knots might not pose a problem, but be wary if your pole will spend extended time outdoors under direct sunlight.
If your garden art pole will be located in a sunny environment, it would be wise to apply a UV protectant. This will extend its lifespan and protect plants and skin cancer from UV rays that could otherwise damage it. Most hardware stores carry outdoor-specific UV protectants.